How to Set Sag on a Mountain Bike (Front + Rear, by Discipline)
Sag is the first thing you dial and the thing most people get wrong. Here's how to set front and rear sag right, what numbers to aim for by discipline, and the o-ring trick that tells you if you nailed it.
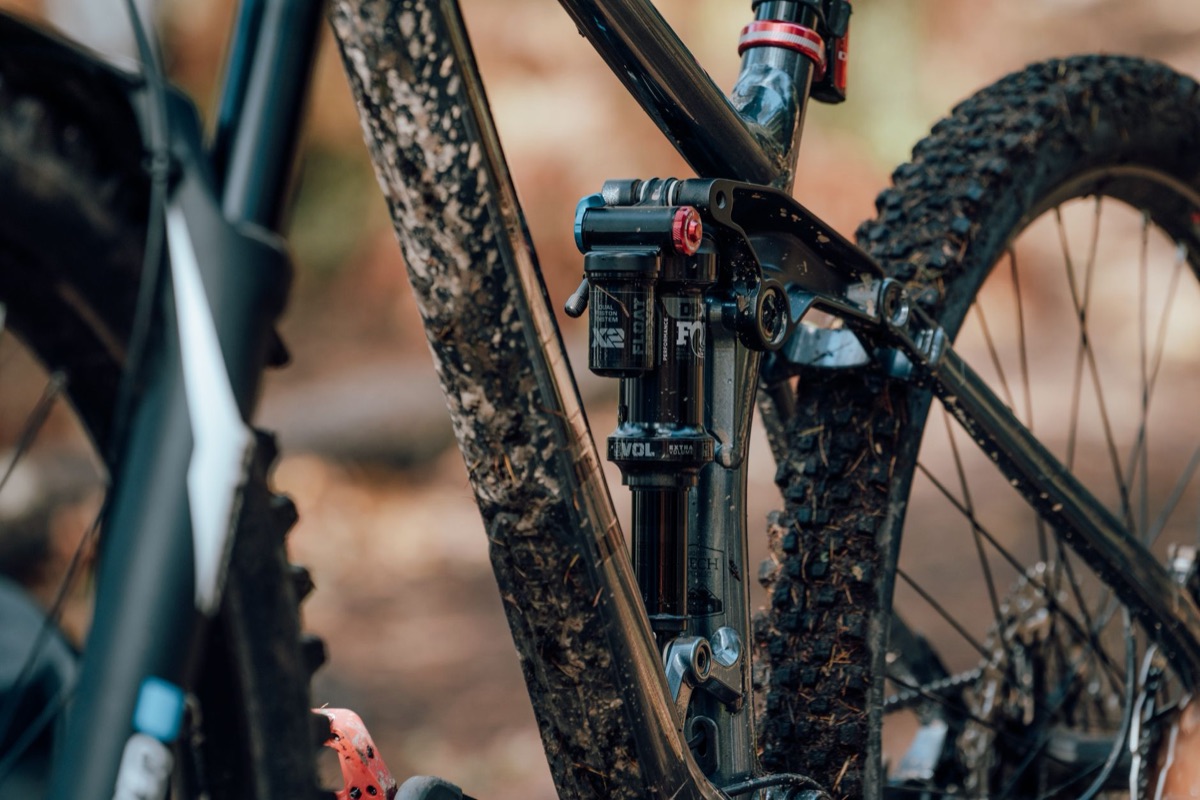
If you're only gonna mess with one thing on your suspension, make it sag. It's the base everything else sits on. Rebound, compression, volume spacers, none of that lands right if your sag's off. And most bikes ship on a pressure that's just a rough guess for your weight, so it's worth a few minutes to actually set it.
so what is sag, exactly?
Sag is the amount your suspension compresses under your own body weight when you sit or stand on the bike in a normal riding position. That's it. No movement, no hitting anything, just you and gravity.
You measure it as a percentage of your total travel, not a pressure number. A 160mm fork sitting 32mm into its travel when you put your weight on it is at 20% sag. The percentage is what you're chasing. The pressure that gets you there depends on your weight, your gear, and how your particular air spring is built, so two riders rarely run the same psi.
what you need
A shock pump (not your floor pump), plus a ruler or tape measure to read the millimeters. Some forks have little marks printed on the leg you can count instead, but a ruler is easier.
That's the whole kit. The job takes about 20 minutes, and you set the fork and the shock in the same session so the bike stays balanced front to back.
step 1: set the fork
First, find the o-ring on your fork. It's the thin rubber band wrapped around one of the shiny upper tubes, called the stanchions. Slide it down with your fingers until it sits against the rubber seal where the stanchion disappears into the lower part of the fork. That little ring is what does your measuring.
Now gear up like you're actually going riding. Shoes, pack, helmet, all of it. That weight is part of you on the bike.
Lean against a wall and stand up on the pedals in a normal riding stance. Pedals level, weight centered, hands resting light on the bars. Don't bounce, just let your weight settle. As it does, the fork sinks a little and pushes that o-ring up the stanchion. Carefully step off without pushing the fork down any further.
Now look at the o-ring. It moved up, and the gap it left behind is how far your fork sank under your weight. Measure that gap in millimeters. That number is your sag.
To turn it into a percentage, you need your fork's travel, which is just the total distance it can move. It's usually 130, 140, 150, or 160mm, all the way up to 200mm on downhill bikes, and it's printed on the fork or listed in your bike's specs. Divide the gap by the travel. Say the o-ring moved 30mm on a 150mm fork: 30 ÷ 150 = 0.20, so that's 20% sag.
Too much sag (the o-ring slid up too far)? Add air with the shock pump, a little at a time, maybe 5 to 10 psi, and the fork gets firmer. Not enough sag? Let a little air out to soften it. Push the o-ring back down, hop on, and check again. Two or three tries and you'll land in the window below.

step 2: set the rear shock
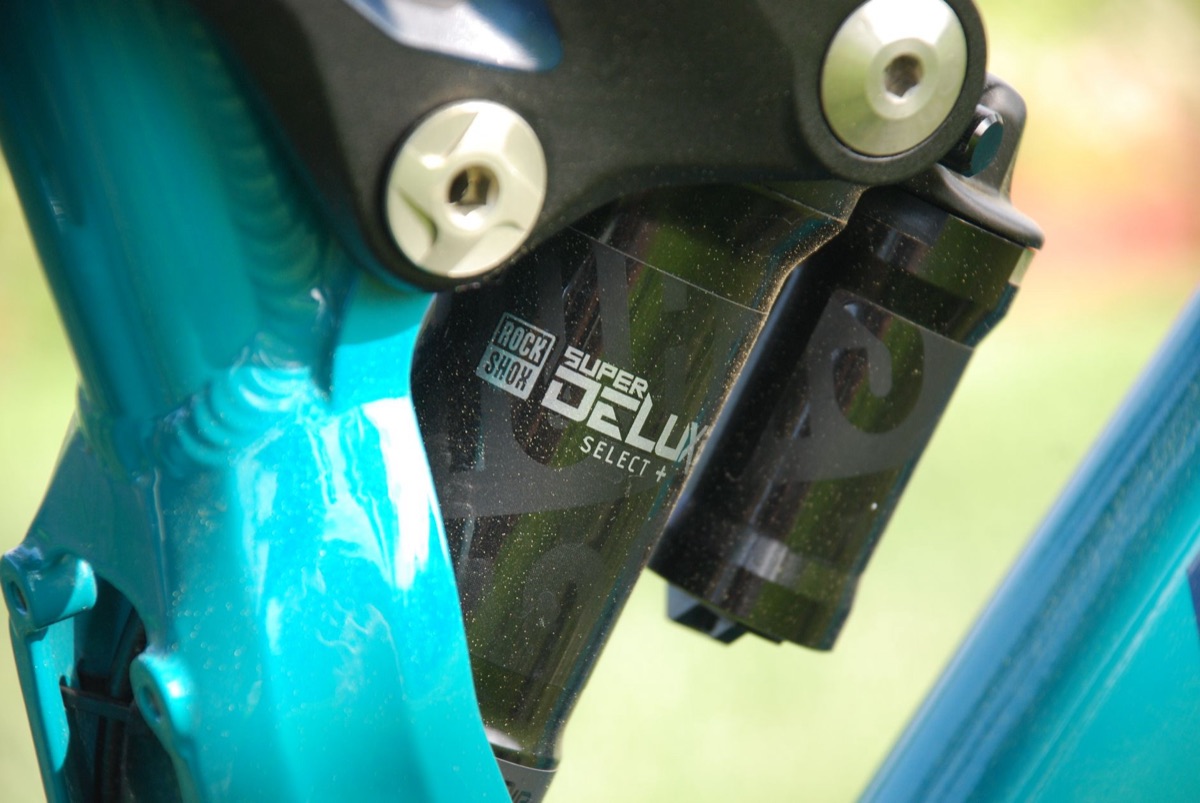
Same idea on the back of the bike. Your rear shock has its own o-ring, riding on the shaft, the exposed length of chrome the shock slides on as it compresses. Push it up against the seal, then get on the bike in that same neutral riding stance you used for the fork: standing on level pedals, weight centered, not bouncing. Ease off and look at how far the o-ring moved, exactly like you did with the fork.
One thing trips people up here. To get your percentage, you compare that measurement against the shock's stroke, not how far the rear wheel moves. Stroke is just how far the shock itself can squish, and it's the second number printed on the shock. A shock marked “210x55” has 55mm of stroke. So for 30% sag, you want 30% of 55mm, which is about 16.5mm of the rod showing. Always use that shock number, not your bike's rear travel, and you'll be in the right spot.
how much sag should you run?
Here are the windows I'd start from, fork then rear. Find your kind of riding, start in the middle of its range, and adjust from there based on feel. These are targets for everyone, no matter your weight. A heavier rider just runs more air to hit the same number.
| Discipline | Fork sag | Rear sag |
|---|---|---|
| XC / Downcountry | 15–18% | 20–30% |
| Trail | 18–20% | 28–31% |
| Enduro | 20–22% | 29–32% |
| Downhill / Park | 22–25% | 30–33% |
XC is the wide one for a reason. That range is the most personal of the bunch, with some riders going firm for efficiency and others softer for grip. Start in the middle and follow your own feel.
step 3: read the o-ring after a ride
Sag gets you in the ballpark. The o-ring after a real ride tells you whether you're actually using the travel. Slide it down, go ride your normal trail like you mean it, then come back and have a look.
- ›Stops 15–20mm short of bottom after a proper ride? That's dialed. You've got a little reserve for when it gets ugly.
- ›Slamming to the bottom every run? Too soft. Add a touch of air, or drop in a volume spacer to firm up the deep end without killing the small-bump feel.
- ›Never getting past about 70%? Too firm, and you're leaving grip on the table. Let some air out and go again.
heads up if you're a bigger rider
If you're north of about 210 lb / 95 kg kitted up, heads up. You might top out the air spring's max pressure before you ever hit the right sag, or it'll feel harsh and spiky no matter what. That's not you doing it wrong, and the fix isn't to keep cramming in air past the limit.
Set your sag first. If you genuinely can't get there inside the recommended pressure range, that's the bike telling you it's time for volume spacers to handle bottom-out. Out back, sometimes a coil or a custom tune sprung for your weight. Both beat fighting a maxed-out air spring.
the stuff people get wrong
A few easy ways to end up with a bad number:
- ›Bouncing before you measure. Pushing up and down packs the suspension deeper than just standing still does, so your sag reads bigger than it really is. Settle on the bike and hold still.
- ›Skipping your riding gear. Set sag in the same shoes, pack, and helmet you actually ride in, or you'll be too soft once you're loaded up on the trail.
- ›Doing the rear standing up. Measure rear sag seated, since that's how you spend most of your time on the bike.
- ›Copying a pressure off the internet. Two riders the same weight can need different pressures, so the only number that counts is the sag you measure on your bike.
let the garage do the math
Punch in your weight, bike, and discipline. Get a starting pressure, the exact sag in mm, and a log to track every setup change.
 filed under · build roadmap
Is There a PCPartPicker for Mountain Bikes? (Yes, and Here’s How It Works)
 filed under · compatibility
How to Build a Mountain Bike From Parts (And the Compatibility Traps)
 filed under · build roadmap
What Order to Choose Parts for a Custom MTB Build (Frame First, and Why)
 filed under · disciplines & bike types
Hardtail vs Full Suspension: Which Mountain Bike Should You Actually Buy?