How to Build a Mountain Bike From Parts (And the Compatibility Traps)
Building a mountain bike from a bare frame is mostly one thing: making sure every part fits the next. Here's the build order, the compatibility traps that bite people, and how to check fitment before you spend a dime.
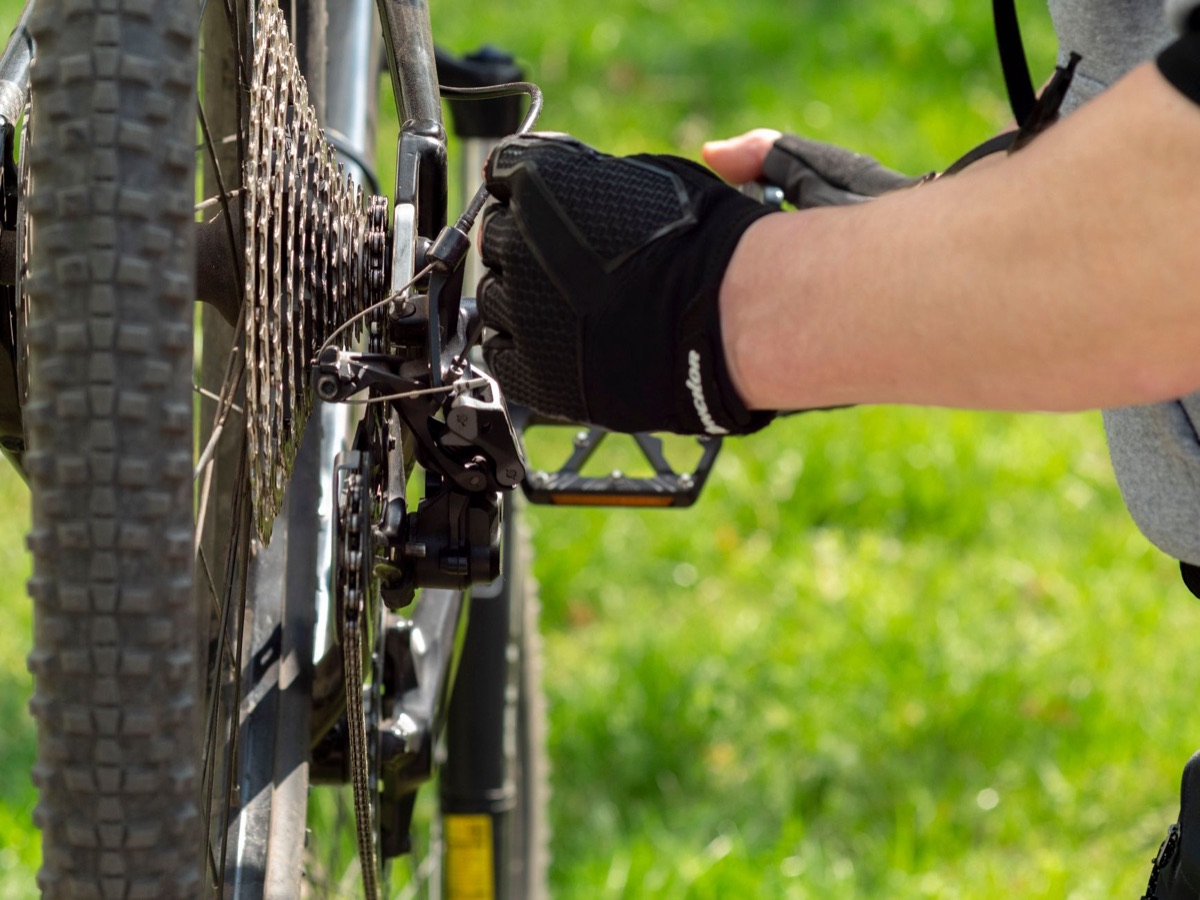
Building a bike from a bare frame sounds harder than it is. The wrenching part is mostly straightforward. The part that actually trips people up is compatibility: making sure every part you buy fits the part next to it. Get that right and the build is a relaxing weekend. Get it wrong and you're shipping a $200 fork back because the steerer was the wrong size.
So this guide is built around fit, not torque specs. We'll go through the order you actually buy and bolt things in, and at each step I'll flag the spec that has to match. None of it is hard once you know which number to look at. You just have to look before you buy.
should you even build from parts?
Straight answer first: for most people, a complete bike is the better deal. Brands buy parts in bulk and you can't, so a stock build is usually cheaper than the same spec piece by piece. Building from parts makes sense when you already have a frame you love, when you're chasing a spec no complete bike offers, or when you just want to do it and learn your bike inside out. All good reasons. Just don't do it expecting to save money. You usually won't.
If you're still in, the build starts with the one part everything else hangs off: the frame.
start with the frame, because it sets the rules
The frame isn't just the biggest part. It's the rulebook. Almost every compatibility question downstream is really a question about what the frame was built to accept. So before you buy anything else, you want the frame's spec sheet in front of you. Five numbers off it decide most of your build:
- ›Wheel size it's designed for (29in, 27.5in, or both).
- ›Rear axle standard (the spacing and axle type at the back wheel, more on this in a sec).
- ›Bottom bracket shell (the type of socket the cranks thread or press into).
- ›Headtube standard (which decides the headset, and with it, the fork).
- ›Seatpost diameter (the post slides into the seat tube, so the number has to be exact).
- ›Rear shock size, if it's full suspension (the eye-to-eye length and stroke the frame is built around).
Manufacturer sites list all of these. Write them down. Everything below is just matching parts to these numbers.
what is boost spacing (and why it's the first thing to check)
Boost is a hub-spacing standard, and it's probably the single most common fitment question in mountain biking, so let's nail it. “Spacing” just means how wide the hub is, measured as the distance between the frame's dropouts (the slots the axle passes through). Boost made bikes a little wider than the old standard to make room for bigger tires and stronger wheels.
The numbers you'll see are written as width x axle diameter, in millimeters:
- ›Boost rear = 148x12. 148mm wide, 12mm thru-axle. The standard on basically every modern trail and enduro bike.
- ›Boost front = 110x15. 110mm wide, 15mm axle, at the fork.
- ›Non-boost (the old standard) = 142x12 rear, 100x15 front. Common on older bikes.
- ›Super Boost = 157x12 rear. Even wider. Mostly on some enduro and DH frames. Don't assume, check.
The rule is simple: your wheels' hubs have to match your frame's rear spacing and your fork's front spacing. A 148 boost wheel will not just bolt into a 142 frame, and the gap isn't something you fudge. So when you buy wheels, the hub spacing is the first spec you check against your frame and fork, not the rim or the color.
what fork fits my bike
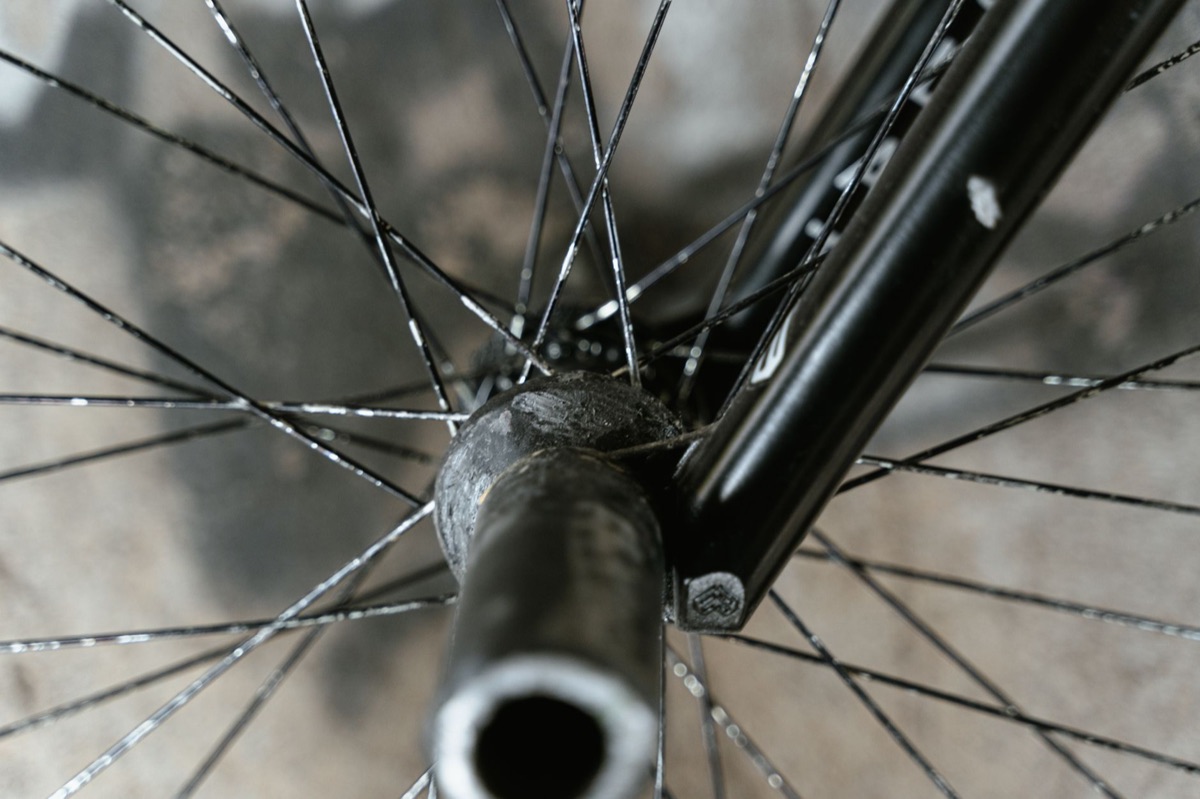
People shop forks backwards: they fall for a fork, then hope it fits. Do it the other way. Start from the frame and the four specs that have to line up:
- ›Wheel size. A 29in fork for a 29in frame. A fork is built around a wheel size and you can't freely swap it.
- ›Steerer tube. The steerer is the tube that runs up through the frame's headtube and clamps into your stem. Modern MTB forks are tapered (1.5in at the bottom, 1-1/8in at the top). Your frame's headtube has to be built for a tapered steerer, which almost all modern ones are.
- ›Front axle standard. Match the fork to your front hub, 110x15 boost on most modern bikes (see above).
- ›Travel. How far the fork compresses. Frames are designed around a travel range, and going way over it steepens nothing and slackens your bike in ways the frame wasn't built for. Stay within about 10–20mm of what the frame calls for unless you really know what you're doing.
Get those four right and the fork fits. Everything else about a fork (damper, chassis stiffness, weight) is about how it rides, not whether it bolts on.
can i put 29in wheels on a 27.5in bike?
Usually no, and here's the honest version. A bigger wheel needs more room in the frame and fork, and it also lifts the whole bike up, which slackens the angles and changes how it handles. Some frames are dual-wheel-size by design and will take either. Most aren't. If yours isn't listed as compatible, a 29in wheel can rub the frame or throw the geometry off enough to feel wrong.
The one exception people actually chase is the mulletsetup: a 29in wheel up front and a 27.5in in the rear (business in the front, party in the back, hence the name). It's a real and popular mix, but it only works on a frame built or officially cleared for it. Force a smaller rear wheel into a frame that wasn't designed for it and you lower the back end and throw the geometry off. So a mullet isn't a swap you force, it's a frame you choose.
what bottom bracket does my bike use?
The bottom bracket (BB) is the bearing unit your cranks spin on, and it lives in the BB shell, the round socket at the bottom of the frame where the two halves meet. This one confuses people because there are a bunch of standards and they look similar. The BB has to match two things at once: your frame's shell, and your crankset's spindle (the axle the crank arms hang off).
The two families you'll run into:
- ›Threaded (you'll see BSA, sometimes T47). The BB cups thread into the frame. Easy to install, easy to service, quiet. Most people's favorite.
- ›Press-fit (PF92 / BB92, PF30, and friends). The bearings press straight into the frame, no threads. Lighter and fine when done right, but pickier to install and more prone to creak.
To find yours, check the frame spec sheet, it'll name the standard outright. Then match the crankset's spindle to it. The good news for modern 1x drivetrains: most cranks use a common spindle (like SRAM's DUB or Shimano's 24mm) and you buy the BB to bridge that spindle to your specific shell. Get the shell standard and the spindle right and it drops in.
can i mix shimano and sram parts?
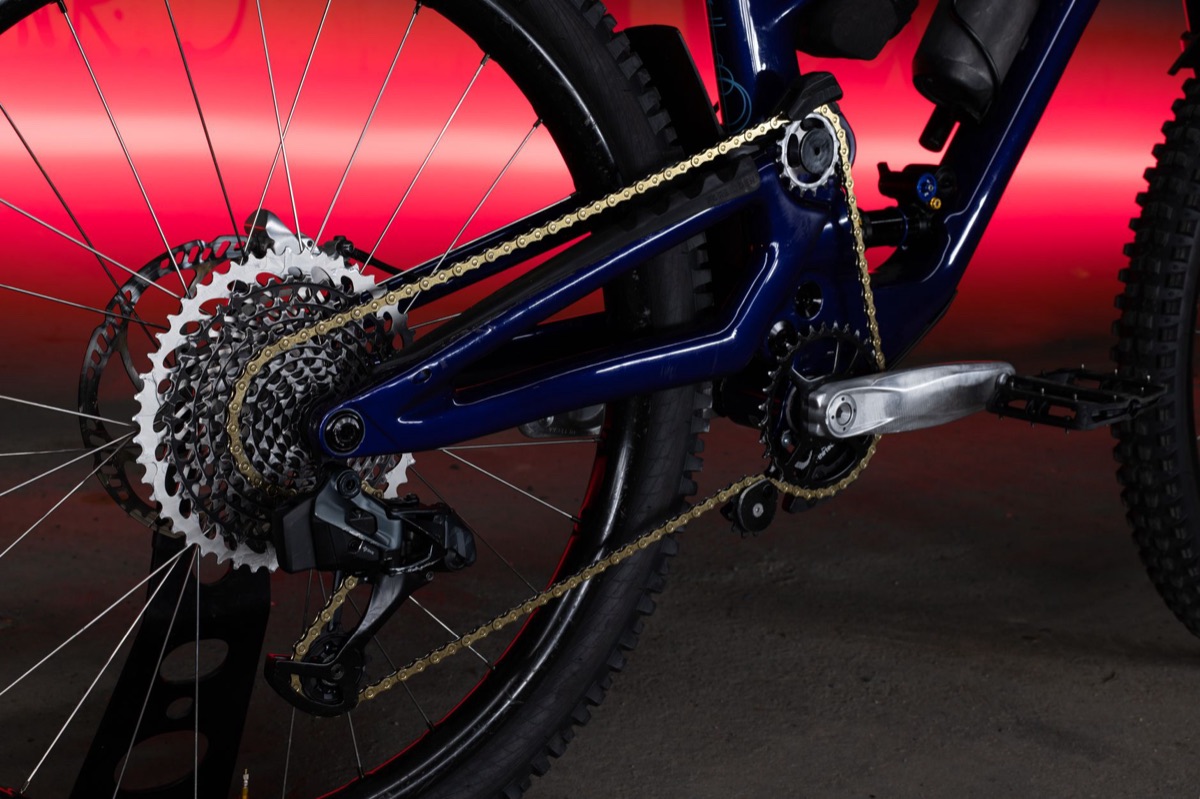
Yes, with one big asterisk, so let's be precise. The rule is about systems that talk to each other versus parts that just bolt on.
The shifting system has to stay one brand. Your shifter, rear derailleur, cassette, and chain are tuned to pull a specific amount of cable (or send a specific signal) per shift. A Shimano shifter does not pull the right amount for a SRAM derailleur, and vice versa. So keep the drivetrain a matched family: SRAM shifter with SRAM derailleur and cassette, or Shimano with Shimano. Don't cross those.
Almost everything else mixes fine. SRAM brakes with a Shimano drivetrain? Completely doable. Wheels, bars, dropper, saddle, tires, pedals can come from whatever brand you like, since none of them care what drivetrain or brakes you run. Tons of great builds mix and match this way.
the cockpit: stem, bars, headset, seatpost
The front-end parts are simpler, but there are still a couple of diameters that have to match. Nothing exotic, just easy to overlook:
- ›Stem to bar. The stem clamps the bar in the middle. Modern MTB bars are 31.8mm or 35mm at the clamp. The stem's clamp has to match that number. They are not interchangeable.
- ›Stem to steerer. The other end of the stem clamps your fork's steerer, which on modern bikes is 1-1/8in at the top. Most stems fit that, just confirm.
- ›Headset to frame. The headset is the set of bearings the fork rotates in. It has to match your frame's headtube standard (you'll see codes like ZS44/ZS56).
what seatpost diameter do i need?
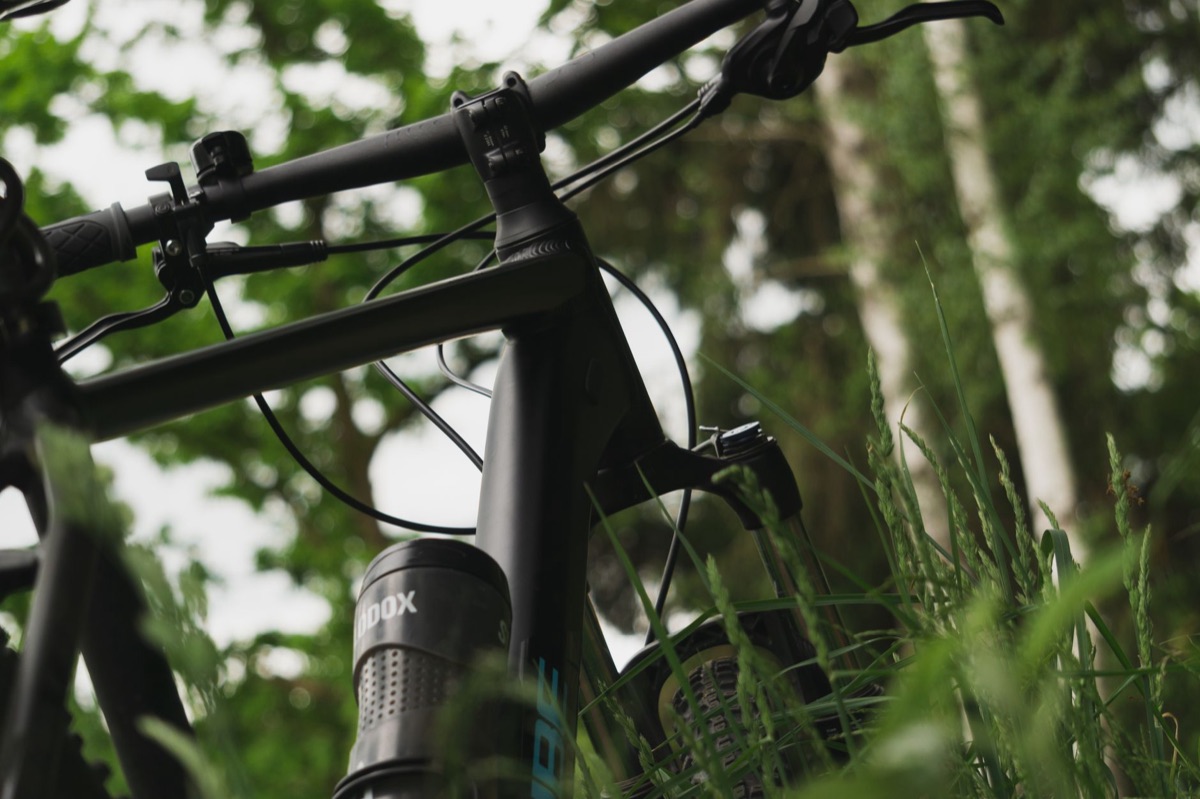
The seatpost slides into the frame's seat tube, so the post diameter has to match the tube's inner diameter exactly. The common MTB sizes are 30.9mm, 31.6mm, and 34.9mm. A 30.9 post in a 31.6 frame is loose and will slip. A 31.6 post will not go into a 30.9 frame at all.
Your frame spec lists the diameter. If you're running a dropper post (the post that drops out of the way at the push of a lever), match that same diameter, and also check two more things: how the frame routes the cable (internal vs external) and how much post will actually fit in your frame, which caps how much drop you can run. Too much dropper for a short seat tube and it won't insert far enough.
the order to actually do it
Once the parts are all confirmed to fit, here's a sane order to put it together so you're never fighting yourself:
- ›Headset and fork into the frame first, so the front end's done.
- ›Bottom bracket, then cranks.
- ›Rear shock, if it's full suspension. It usually comes already fitted to the frame; if not, do it early.
- ›Wheels, then tires, then rotors.
- ›Brakes, then the drivetrain (derailleur, cassette, chain, shifter).
- ›Cockpit last: stem, bars, seatpost, saddle, then cable routing and bleeds.
Take your time with bearing installs and brake bleeds, those are the two spots where rushing costs you. And torque your bolts to spec, especially anything carbon. A cheap torque wrench is worth it.
let the builder catch the traps
Pick a frame and start adding parts. The Builder checks every single spec against the rest of the build as you go, so you find out a part won't fit before it ships, not after.
 filed under · build roadmap
Is There a PCPartPicker for Mountain Bikes? (Yes, and Here’s How It Works)
 filed under · suspension setup
How to Set Sag on a Mountain Bike (Front + Rear, by Discipline)
 filed under · build roadmap
What Order to Choose Parts for a Custom MTB Build (Frame First, and Why)
 filed under · disciplines & bike types
Hardtail vs Full Suspension: Which Mountain Bike Should You Actually Buy?