How to Bleed MTB Brakes: Shimano and SRAM, Step by Step
How to tell a brake actually needs a bleed, the two quick fixes to try first, what kit and fluid you need, and the Shimano and SRAM procedures step by step.
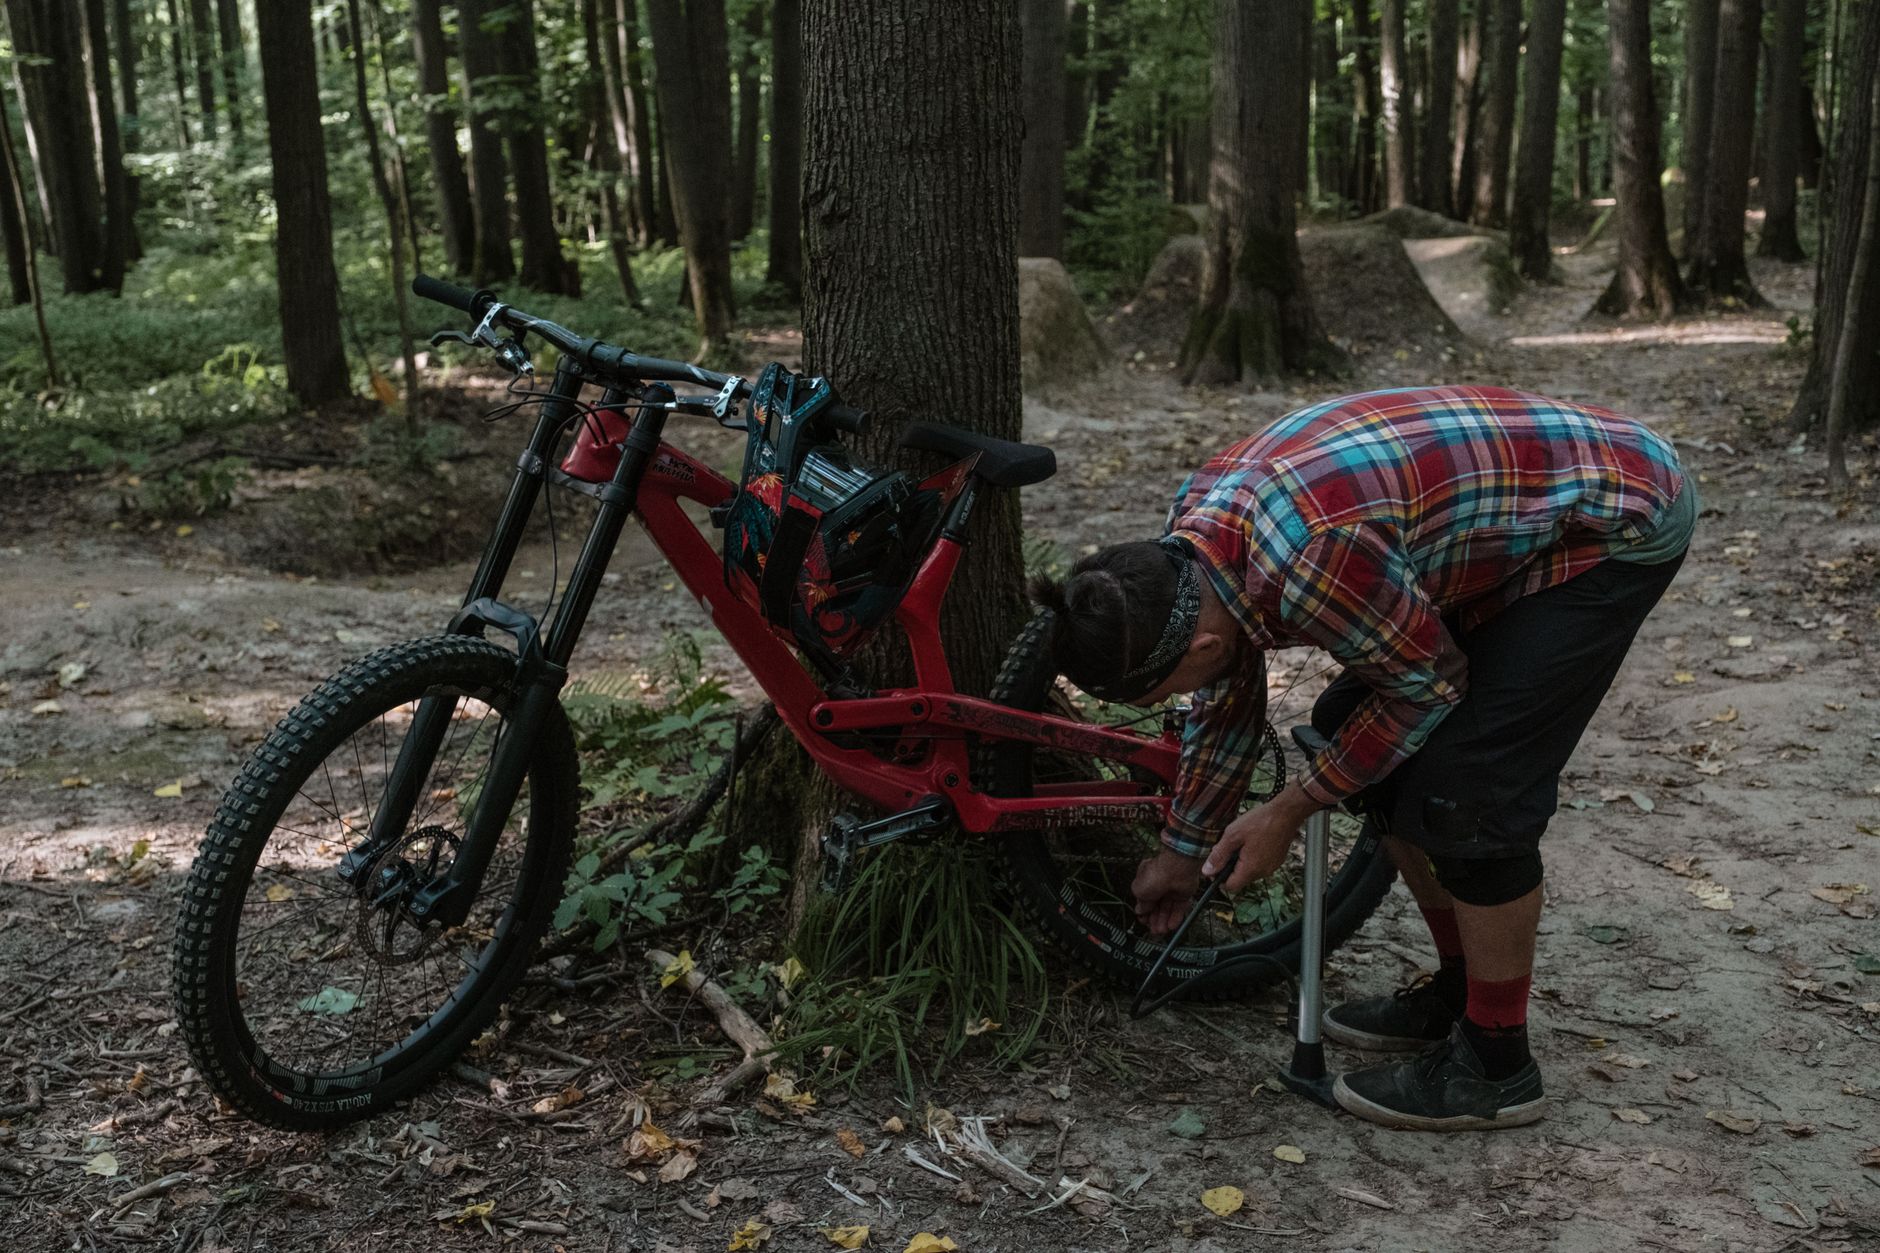
A bleed swaps old brake fluid for fresh and pushes out the air that makes a lever feel soft. With your brand's bleed kit it is a job you can do at home in under an hour. Check you actually need one first, because a spongy lever is not always air.
do your brakes need a bleed
A bleed is due when:
- ›The lever feels spongy or pulls closer to the bar than it used to.
- ›The bite point wanders, catching at a different spot from one pull to the next. On Shimano brakes this is usually air trapped in the caliper.
- ›It is on the calendar. SRAM says at least once a year for DOT brakes and every two years for mineral oil. Shimano says change the oil when it looks noticeably discolored.
- ›You opened the system, like cutting a hose to length or swapping a lever.
Before you bleed a soft lever, try the two fixes SRAM's own manual lists first. Neither needs fluid.
- ›Pad advance. If you drag your brakes a lot, the pistons may not have moved out to meet worn pads. Wind the lever reach all the way out, pull the lever hard five times, then set the reach back where it was.
- ›Piston massage. With the wheel and pads out, put a spacer between the pistons (two old rotors stacked works), squeeze the lever until the pistons touch it, then push them back in with a plastic tire lever. Repeat until they move freely. Never put grease or brake fluid on the pistons.
Check the pads while they are out. Worn pads make the lever travel further too, and no bleed fixes that. If the lever is still soft after all of this, it is time to bleed.
what you need
Each brand has its own kit, and the fluid has to match the brake. The fluid is printed on the lever or the reservoir cap, and our brakes guide covers which brands use what.
| Brake | Fluid | Wrenches |
|---|---|---|
| Shimano | Shimano mineral oil only | 7mm box wrench for the bleed nipple |
| SRAM Code, G2, Level, Guide | DOT 5.1 or DOT 4 | T10 Torx, 2.5mm and 4mm hex |
| SRAM Maven, DB8 | Maxima Mineral Brake Oil | T10 Torx, 2.5mm and 5mm hex |
- ›Shimano: the TL-BR Professional bleed kit ($59.20) has the mountain bike funnel, the syringe and hose, and bleed blocks. It comes without oil, so add a bottle of Shimano mineral oil ($24.95 a liter).
- ›SRAM DOT: the SRAM Pro DOT bleed kit ($115) has two syringes, the Bleeding Edge fitting, bleed blocks and the Torx tool. Buy it with fluid, or add SRAM DOT 5.1 ($9.99). The cheaper Standard DOT kit is out of stock at the retailers we link to right now.
- ›SRAM Maven and DB8: the SRAM Standard Mineral Oil bleed kit ($74) with its own mineral-only Bleeding Edge fitting, plus Maxima Mineral Brake Oil ($16.99) for top-ups.
Everyone also needs nitrile gloves, safety glasses, shop towels, isopropyl alcohol and a repair stand. A torque wrench helps, because the bleed screws and ports take small, specific torques.
before you start
Take the wheel out, pull the pads, and fit the bleed block (a plastic spacer that sits where the pads were) in their place. It stops the pistons popping out if the lever gets squeezed, and it keeps fluid off the pads.
Brake fluid on pads ruins them. SRAM says to replace pads that get mineral oil on them, and to clean rotors with isopropyl alcohol. DOT fluid also strips paint, and SRAM's cleanup for DOT is water and a shop towel. Work over a towel and wipe drips straight away.
how to bleed shimano brakes
Shimano bleeds from the bottom up: you push oil into the caliper and it rises through the hose into a funnel on the lever, carrying the air with it.
- 1.Set up. Bike in a stand, wheel and pads out, yellow bleed spacer in the caliper. Turn the lever so it sits level with the ground.
- 2.Fit the funnel. Take the bleed screw and its O-ring out of the lever and thread the funnel in. Leave the stopper out.
- 3.Fill from the bottom. Put a 7mm box wrench on the caliper bleed nipple, push the oil-filled syringe tube onto it, and open the nipple a quarter turn. Push oil up until it comes into the funnel with no bubbles. Do not touch the lever while you fill. If you do, Shimano says drain it and start again.
- 4.Let the air out. Close the nipple, swap the syringe for a tube running into a bag, and open it again. Oil and air drain out on their own. Tap the caliper and hose with a screwdriver handle and try turning the caliper to shake bubbles loose, and keep the funnel topped up so no air gets back in.
- 5.Clear the caliper. Close the nipple. With the lever held in, open and close the nipple quickly, about half a second each way, two or three times. Tighten it to 4–6 N·m and put the cap back on.
- 6.Clear the lever. Pump the lever and watch bubbles rise into the funnel until the lever goes stiff. Tilt the lever 30° up and pump again, then 30° down and pump again, then set it back to level.
- 7.Close it up. Plug the funnel with the stopper, O-ring side down, and lift the funnel out with the stopper still in. Thread the bleed screw back in until oil overflows, at 0.5–1 N·m, without touching the lever. Wipe up, pull the bleed spacer, and refit the pads.
Step four is where a wandering bite point gets fixed. Be patient with the tapping and turning, because the air that causes it sits in the caliper.
how to bleed sram brakes
SRAM bleeds with two syringes, one at each end, moving fluid back and forth through the system. These steps are for calipers with a click-in Bleeding Edge port. Some calipers have a threaded version, where the syringe screws into a T10 port instead, and older calipers without Bleeding Edge bleed differently. SRAM's bleed manual for your fluid covers all three. The DOT and mineral oil versions of the steps below differ only in the fluid, the port wrench and the torque.
- 1.Fill the syringes. Fill the lever syringe about three quarters full and the caliper syringe with a little fluid. Hold each one upright with a towel over the tip and push out the air. Clamp the lever syringe shut.
- 2.Set up the caliper. Wheel and pads out, bleed block in, pad bolt back in. Crack the Bleeding Edge port a quarter turn with a hex key (4mm on DOT brakes, 5mm on mineral oil brakes) and snug it back. Click the Bleeding Edge fitting in and turn it one full turn counterclockwise to open the system, never more than two.
- 3.Set up the lever. Wind the contact point dial all the way out (against the arrow), set the lever blade 75–80mm from the middle of the bar, take out the T10 bleed screw, and thread in the lever syringe.
- 4.Push fluid through. Open the lever syringe and gently push fluid down until it fills the caliper syringe. Then hold the caliper syringe upright and slowly pull the lever plunger back up to draw it back. Repeat until only a few bubbles show. Always push from the lever: SRAM warns that pushing from the caliper can pop the Bleeding Edge fitting off. If the fluid coming out is dirty, push it all out and start over with fresh.
- 5.Close the caliper. Turn the Bleeding Edge fitting clockwise until it stops, pull it straight out without twisting, and tighten the port (1.6 N·m on DOT, 1.8 N·m on mineral oil). Refit the plug.
- 6.Finish at the lever. Squeeze and release the lever, then pull the syringe plunger to make a vacuum and push it to pressurize, a few times, until only a few bubbles come out. Push lightly and let go to settle it, clamp the syringe, take it out, and refit the bleed screw at 1.6 N·m.
- 7.Clean up and refit. Clean the lever and caliper (water for DOT, isopropyl alcohol for mineral oil), pull the bleed block, refit the pads with the pad bolt at 1.1 N·m, and put the wheel back in. Squeeze the lever three times to push the pistons back out. The first squeeze goes all the way to the bar, which is normal.
after the bleed
Spin the wheel and pull the lever a few times. It should feel firm and bite at the same spot every pull. If the pads rub, loosen the caliper bolts, hold the lever on lightly, and tighten them again to center it. If the lever is still soft, bleed it again before you ride.
Your old pads go straight back in with no bed-in needed. New pads, new rotors, or pads you had to replace after a spill do need one. SRAM's method: about twenty firm stops from a moderate speed down to walking pace, then about ten very firm stops from a faster speed, staying seated and without locking the wheels.
Once it is done, rate the brakes Fresh in your Garage, so the next one is on your list.
common brake bleed questions
- How often should you bleed mountain bike brakes?
- SRAM says to bleed DOT brakes at least once a year and mineral oil brakes once every two years, because DOT fluid absorbs water faster. Shimano says to change the oil when it becomes noticeably discolored. Bleed sooner if the lever goes soft, pulls closer to the bar, or the bite point moves around from one pull to the next.
- How do I know if my brakes need bleeding?
- The lever feels spongy, it pulls closer to the bar than it used to, or the bite point changes from one pull to the next. Check the pads first, because worn pads also make the lever travel further. SRAM recommends a piston massage before bleeding a spongy brake, and a bleed if that does not fix it.
- Can I use DOT fluid in Shimano brakes?
- No. Shimano brakes take Shimano mineral oil only, and DOT fluid damages their seals. The same goes the other way: SRAM DOT brakes take DOT 4 or DOT 5.1, and SRAM Maven and DB8 take Maxima mineral oil. Never run both fluids through the same bleed kit.
- Can I bleed brakes without a bleed kit?
- Not properly. A bleed needs a syringe that fits your caliper, a funnel or second syringe that fits your lever, and a bleed block to hold the pistons in. The brand kits include all three, and you reuse the kit for every bleed after the first.
- Do I need to bed in my brakes after a bleed?
- Only if you fitted new pads or rotors, or the pads got fluid on them and had to be replaced. Refitting your old, clean pads after a bleed needs no bed-in. If the pads did get fluid on them, replace them: SRAM says contaminated pads must be replaced, and rotors can be cleaned with isopropyl alcohol.
keep tabs on your brakes.
Rate each part on your bike from Fresh to Trashed in the Garage, so the next bleed or pad swap is on your list before the lever goes soft on a descent.
 filed under · build roadmap
Is There a PCPartPicker for Mountain Bikes? (Yes, and Here’s How It Works)
 filed under · suspension setup
How to Set Sag on a Mountain Bike (Front + Rear, by Discipline)
 filed under · compatibility
How to Build a Mountain Bike From Parts (And the Compatibility Traps)
 filed under · build roadmap
What Order to Choose Parts for a Custom MTB Build (Frame First, and Why)